Origami Ninja Throwing Star - Smashed Peas & Carrots for Beginners


The Definitive Guide for Squeak 'n Treat Ninja Star - PetSafe
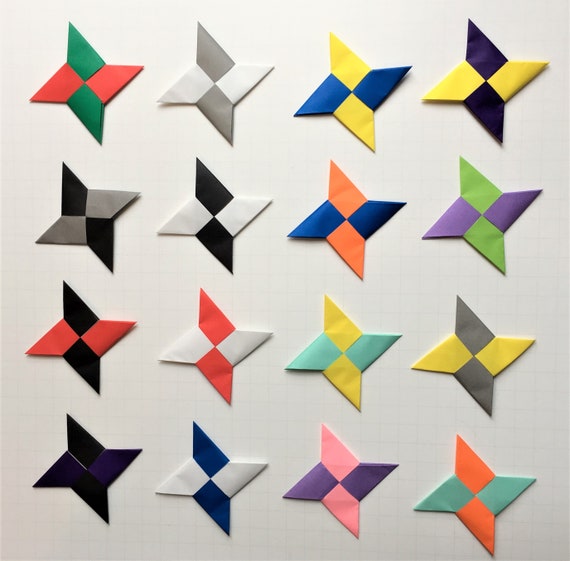
The ninja star is called "Shuriken" in Japanese. This origami ninja star is a true timeless! Kids around the world have invested many hours playing with this origami work of art, whether pretending to be ninja warriors on a mission or having competitors to see whose origami ninja star will fly the farthest! Made this origami? Also Found Here and Submit your picture using the remark box at the end of this page! Have a look at our video below, and our photo directions below that: Origami Ninja Star Action 1: Start with 2 pieces of square origami paper color sides down.
Ninja Throwing Star (Various designers) - Design and Violence
Rubber Shuriken NInja Star ( - ROPPO - ) / From Japan - eBay
I used 2 various colors so that it's much easier to see. Origami Ninja Star Action 2: Fold them in half. This is called a book fold. Crease well and unfold. Origami Ninja Star Step 3: Fold both halves of each paper to meet the center crease. This is called a cabinet fold.
Origami Ninja Star Action 5: Fold them in half along the horizontal axis. Crease and unfold. Origami Ninja Star Action 6: We now require to fold on the dash lines as revealed below. Notice that the folds are now opposite of one another. Origami Ninja Star Action 7: Let's fold the leading parts first.
Some Known Details About Ninja Star GIFs - Tenor
Origami Ninja Star Step 8: Let's now fold the bottom parts. This is what you must have now: Origami Ninja Star Step 9: We now need to make 4 diagonal folds as revealed by the dash lines listed below. Origami Ninja Star Step 10: Let's fold the left (purple) one first.

Ninja Star SVG Throwing Star SVG Ninja Svg Ninja Star - Etsy
Bring the bottom half over to the left. The dash lines reveal where the crease must be. Origami Ninja Star Action 11: Let's deal with the yellow one now. The yellow is the reverse of the purple. So, let's fold the top half over to the left and the bottom half over to the right.
Origami Ninja Star Action 12: OK, Now turn the purple one only. Origami Ninja Star Step 13: Now rotate the yellow one 90 degrees counter clockwise so that it's like in the photo below. Origami Ninja Star Step 14: Now put the yellow paper on top of the purple like so.